


Complete setup guide for VU+
This procedure write directly in flash memory of your Vu+. This operation is not risk free Please note this will erase all your data on the Vu +.
Do not unplug the decoder during the flash.
This guide is for advanced utisateurs
For this tutorial you need.
Your box Vu+
A USB drive formatted fat32
Dreambox Control Center (DCC) : HERE
Les fichiers :
Image BlackHole : Uno, Solo, Duo, Ultimo, Solo² ou Duo²
The plugin TSpanel 7.3 : ICI
A Channel List for Enigma 2 : ICI
Clines servers
1) Install the image onto the USB stick:
1- Unzip The BlackHole image at the root of your USB stick

2) Update VU+ :
1- Turn off the Vu+ (electrically disconnect) or with the ON/OFF button.
2. Insert the USB stick into the USB port on the front of Vu+
3. Start the Vu+ (electrically reconnect) and follow the instructions on the Vu+ screen.
4- Once the update is complete; shoot down the Vu + (electrically disconnect)
5. Remove the USB key
6. Restart the Vu+
(For Vu + Solo only)
The update Vu + Solo is automatic (the files on your USB key are automatically loaded).
1) To start on the front button of your Vu + Solo LED Red / Orange will be lit and LED flash your USB stick: Reading USB key.
2) After 2 or 3 minutes LED Red / Orange your Vu + Solo flash (that of your USB key will not be lit): flashing your Vu + Solo.
3) When the installation is complete the LED of your Vu + Solo will be Green (that of your USB key will not be lit): your Vu + Solo is flashed.
3) Install the plugin TSpanel:
How to setup plugin TSpanel :
1- Unzip the file on your computer enigma2-plugin-extensions-tspanel_7.3_mips32el.zip DOWNLOAD HERE
2- Open DCC and complete the fields as shown in the image.
Name: root
Passw: vuplus
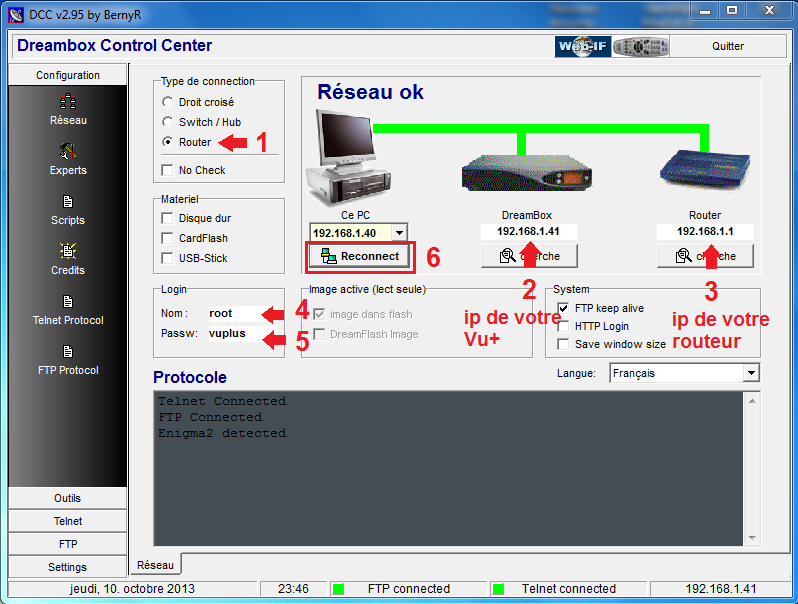
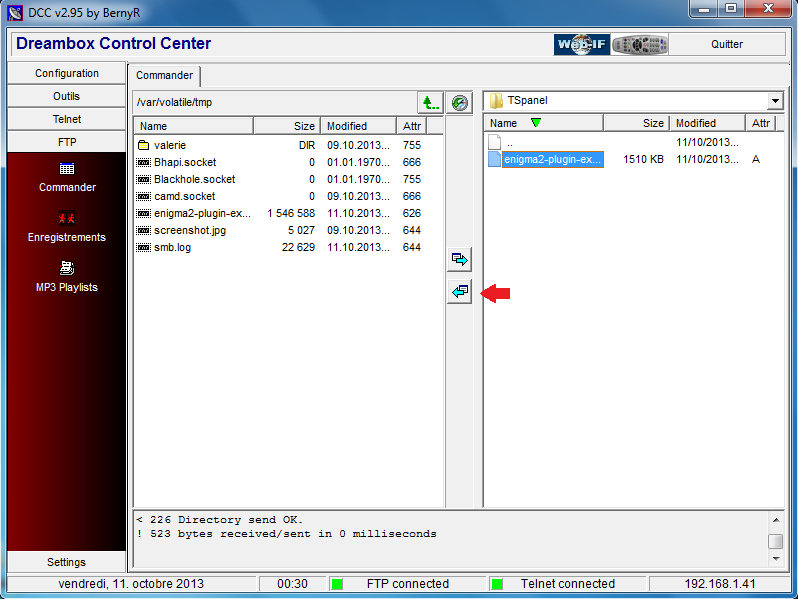
3- Click on FTP tab.
4- in the left window open the /tmp directory, then in the right window open the folder on your PC where you stored the TSpanel plugin.

5- With the green arrows between the two windows, transfer TSpanel plugin to the /tmp directory.
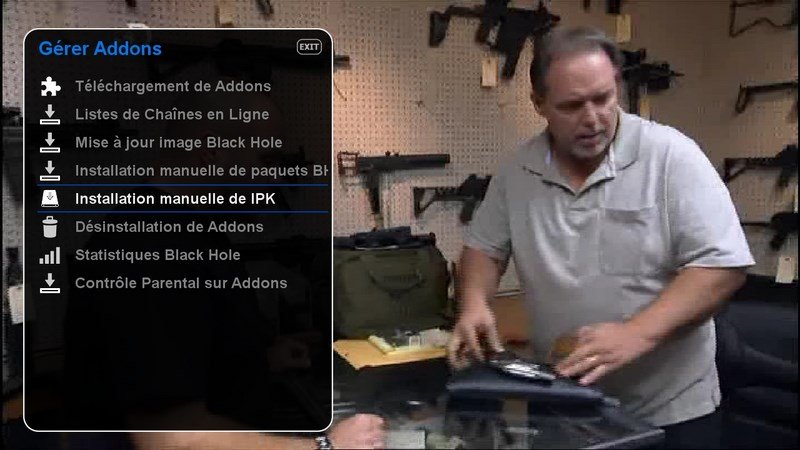
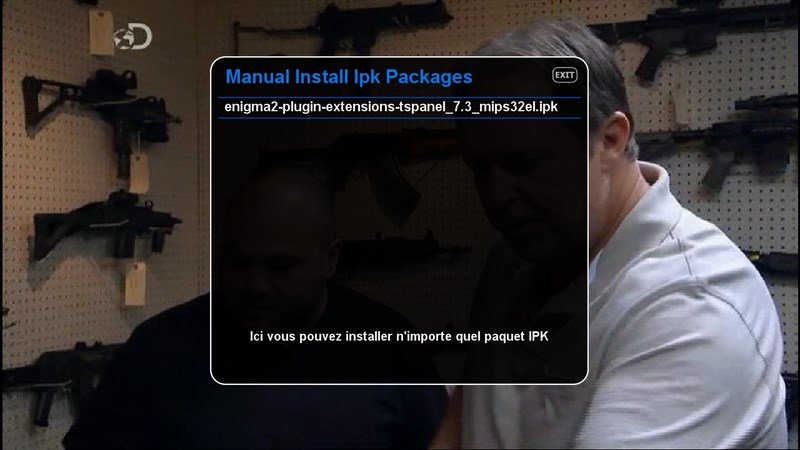
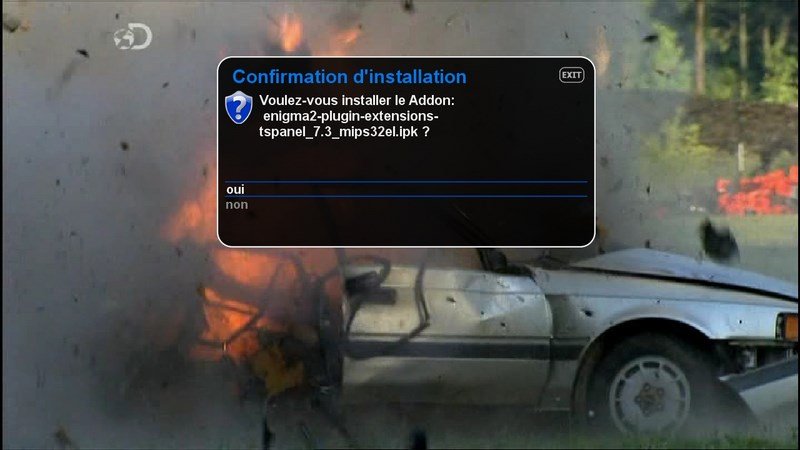
6- On the remote menu made of Vu + /Addons/IPK manual installation, select the TSpanel plugin, ok then yes.
At the end of the installation press ok and restart vu+

4) Installation CCcam 2.1.4 :
1- Press the green button on your remote to access the addons menu
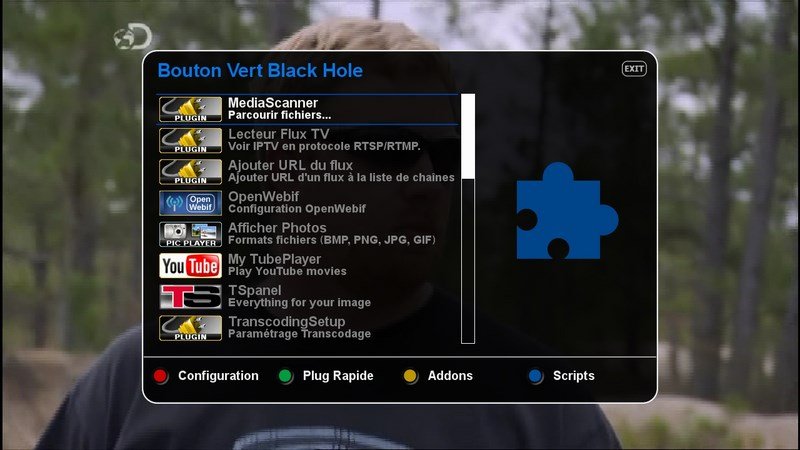
2- Choose TSpanel

3- Addons

4- TunisiaSat Vuplus Addons

5- Cam-BlackHole

6- Choose Cccam-2.1.4-full-blackhole_04.04.2013_all, then ok

7- Wait for the installation
8- Restart le vu+
How to enable CCcam 2.1.4 :
With the blue button on the remote control is accessed blue panel that enables the softcams and many other things.
Once on the blue panel made has left or right to the place there is marked Common interface CCcam 2.1.4, then ok.


Here CCcam 2.1.4 is activated.